After basically prying the rear axle out of this '67 Camaro RS we started to get an insider's view of the real history of this car. Let me start by sharing what we know. The car is a true '67 RS, that has been confirmed via the VIN numbers. It originally came with a 327 and manual transmission. Sometime recently the car started getting restored by a previous owner. As it currently sits it has a 454 from an early 80s pickup. It got a new TKO 500 transmission. Long tube headers, decent exhaust. And some body work to include some paint. It's pretty obvious that the guy who was spending money on it wanted to go fast and look cool. Other items on the car were scary-stock. It had old if not original bushings throughout the suspension. Drum brakes on all four wheels. A hacked on wiring harness and a fair amount of rust. Looking over the body you can see a few spots where some filler was overused. But despite a few blemishes only noticeable upon close inspection the body is solid.
Matt got the car on ebay and was very happy with the price he paid for it. It was appraised and things checked out. After he got the car he only got to enjoy it for about a month when he banged it up, most of that story is
here. I left off with the car being stripped of it's damaged and worn out suspension and brakes. With some inspection we determined the front sub-frame was still square and ready for new parts. The rear frame of the car is decent for the age of the car. There was evidence of some less than honest workmanship but we were able to fix all of that. On the other hand after pulling the rear axle out of the car we were able to easily confirm that the left rear axle shaft was indeed bent. Matt ordered new axle shafts as well as seals and some bearings. With a short wait on the parts to show up we were able to get to work on the axle.
 |
| Here's the axle in all of it's factory stock glory. Check out the video below to see how bent the axle turned out to be. |
 |
| I enjoy working with Matt, he's new to doing major work on cars but is eager to learn and has some machine work background. It also helps that he doesn't mind doing the dirty work. I think my years of experience help me to stay a little cleaner than most new guys any way. |
 |
| The axle was a standard C-Clip setup, and came apart fairly easily. I didn't take pictures of the us replacing the seals but in the process we learned this is not the original axle. In '67 the small block and six cylinder Camaros came with a 8.25 inch rear end gear set. And the big block cars came with an 8.75 inch gear. Matt was concerned that his car still had the smaller rear end, which was a weak link in his drive train. However after finding that none of the sixties vintage axle seals would fit. It was learned that this is an early to mid '70s 8.5 inch rear end. I'm a Ford guy, so I'm not used to all of these crazy combinations. But the news was bitter sweet for Matt. He did some research and found that the 8.5 if upgraded with the right parts would be plenty strong to last him a few years. The bitter part was that Matt bought stock replacement axle shafts for a '67 8.25 inch axle. Well the axles fit fine, but he just wasted money buying stock replacements when he could have upgraded. -Did I mention I'm a Ford guy?... |
 |
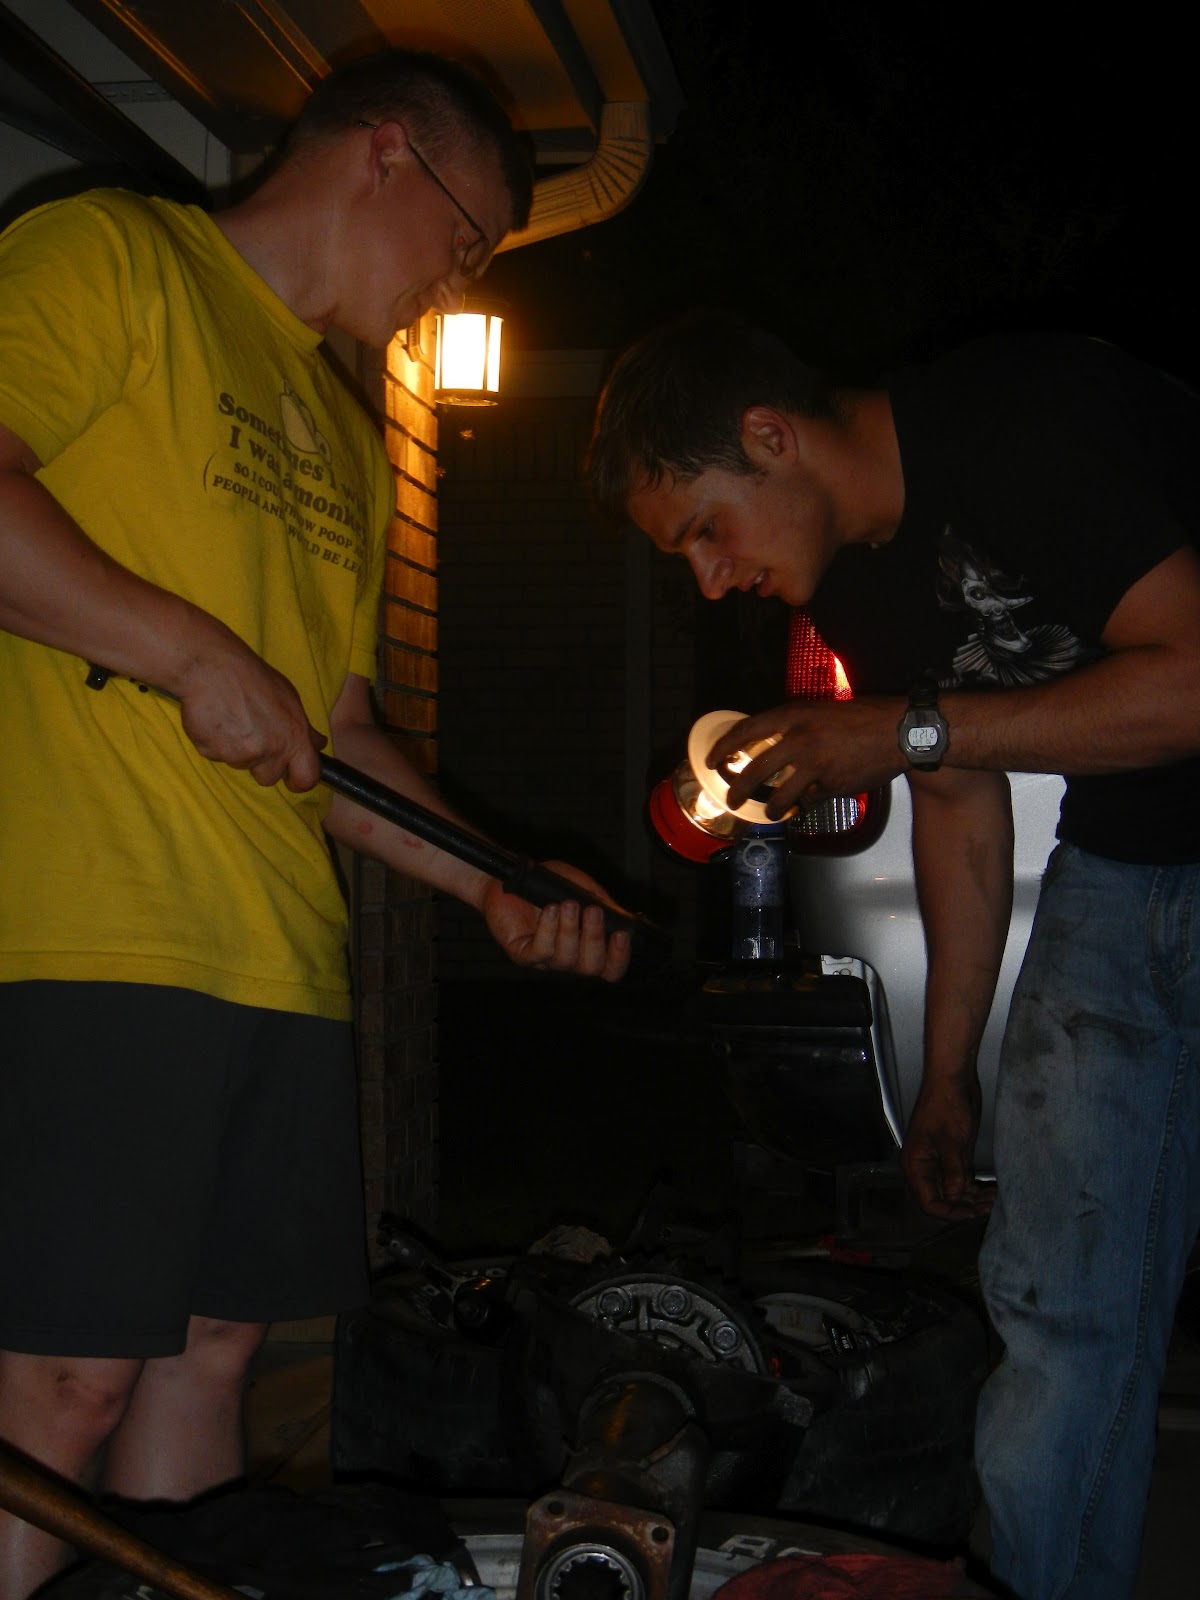
| In this picture I'm showing Matt how the reading on my old Craftsman torque wrench sometimes lies. On this old model you pull the end of the handle out and twist it to change the setting, which is indicated by numbers that scroll by small windows in the rubber grip. The problem with mine is the grip slides up and down a bit so you could get a reading of say 74 ft.lbs. or 104 ft.lbs. -That was a bit of foreshadowing. |
 |
| A moment later we were torquing down the carrier bearings. |
 |
| And half a moment after that I was breaking a bolt off in the axle housing. We quit for the night at this point, and I have a new torque wrench now. |
|
|
|
|
|
 |
| Extracting broken bolts in this situation is a very trick process. Our bolt was very jagged so the first step was to use a die grinder to flatten it down a bit, great car was taken to not nick or gouge the mating surfaces. After smoothing the broken bolt we used a sharp center punch to dimple the middle of the bolt. |
 |
| The next step is to drill a hole specific to the extraction tool that you want to use. I always recommend using a drill bit about 75% diameter of your final size to start with, this helps you make small adjustments to keep the hole centered. Often times the bolts used on cars are made of harder metal then the parts they screw in to, and that is the case with this grade eight bolt in the cast iron rear housing. If you are not careful the drill bits will take the path of least resistance and walk from the center of the bolt into the threads of the cast iron. |
 |
| After getting the bolt out we cleaned the treads up. This picture shows us using a new thread tap in the existing threads, A re-threader or thread repair tool would have been better in this case. But when you don't have the right tool sometimes you have to make compromises. We checked the fit of the threads and they were still true with no evidence of being too loose. Using a thread tap on existing threads can over-cut them which can make them prone to stripping, do this at your own risk. |
With the axle refreshed with new seals and bearings it was time to start throwing parts at it. The CPP rear big brake kit has lots of extra hardware to help you fit their brake kit to almost any vintage GM axle.
 |
| Summit Racing brand axle shafts. |
 |
| These new brake rotors will give the rear end more stopping power than the car used to have with the stock front brakes. And they look pretty too. |
|
|
|
 |
| Here's just some of the parts you get, the large black piece is the bracket for the brake caliper, the gold parts are shims to get things lined up properly. |
 |
| Here's the combination that Matt used to get his calipers centered on the rotors. |
 |
| It almost looks like a high performance axle now. Well at least it will stop like one! |
|
 |
| We had a "fun" time replacing the through-frame bushing for the leaf spring shackles. We used long bolts and big washers to pull them in almost like squeezing them in a vise. After all of that -setting the axle on the springs and bolting things up was easy. For the time being we are forced to re-install the old lift bars that were on the car. The lift bars are okay for a car that is used on the dragstrip or for some stoplight to stoplight action. But they don't match well with Matt's goals for the Camaro though. He wants it to handle well, and the truth is slapper/traction/lift bars are VERY bad when it comes to predictable cornering. I won't get into the details here, but I firmly believe Matt would not have spun out the way he did if the car didn't have the lift bars on it in the first place. |
So now the rear end is back together, and work has begun on the front end. Matt had to go on a few trips so not much has been done to the car in the past two months. I did create a jig to measure for new wheels and tires though, here's a peek of that. -JW